How to Print Wall Art at Home So It Looks Professional
You bought a digital print (or you're about to), and now you want it on your wall looking like it came from a gallery — not a school printer. Here's exactly how to do that, whether you print at home or send the file out.
The good news: a well-made digital file does most of the work. Every LuminaForge print is a 300 DPI, 2:3-ratio JPG built to enlarge cleanly up to 24×36 inches. That resolution is the single biggest factor in how sharp your finished piece looks, and it's already handled. The rest comes down to a few simple choices.
1. Decide on your print size first
The 2:3 ratio means your file scales perfectly to the most common frame sizes: 4×6, 8×12, 12×18, 16×24, and 24×36 inches. Pick your size before you print, because it determines where you'll print and what frame you'll buy. As a rough rule: 12×18 suits a desk or gallery wall, 16×24 works above a nightstand or console, and 24×36 makes a real statement above a couch or bed.
2. Choose where to print
You have three good options, in ascending order of quality:
Home printer
Fine for smaller sizes (up to about 8×12) if you have a decent inkjet and good paper. Load matte or lightly textured photo paper — never plain copy paper — and in the print dialog set the paper type to "photo/matte," quality to "best," and turn off any "fit to page" scaling that could crop or soften the image. Print borderless if your printer supports it.
Local print shop or pharmacy
Staples, Office Depot, FedEx Office, Walgreens, and CVS all print photos and posters affordably, often same-day. Upload the file, choose your size, and ask for matte photo paper or heavyweight poster stock. This is the sweet spot for most people: cheap, fast, and noticeably better than home output.
Online print lab
For the best result at larger sizes, use a dedicated lab such as Printful, Nations Photo Lab, or a local giclée printer. You'll get archival inks and premium paper, ready to frame. Worth it for a 24×36 centerpiece.
3. Get the color right
LuminaForge prints are deep, moody, and gold-lit by design. Two tips so they land that way on paper: choose matte over glossy (glossy blows out the highlights and adds glare), and if you print at a shop, ask them not to "auto-correct" or "auto-enhance" the image — that feature tends to wash out intentional shadow. The file is already balanced.
4. Frame it like you mean it
Framing is where a $6 download starts looking like a $60 print. A simple black or thin wood frame with a white mat flatters this cinematic style beautifully — the mat gives the image room to breathe and reads instantly as "gallery." Standard frames from IKEA, Michaels, or Amazon in the sizes above will fit without custom work.
5. A quick pre-print checklist
- Download the original file (not a screenshot) — the file you receive is clean, with no watermark.
- Print at the native 2:3 ratio; avoid cropping to non-2:3 sizes like 8×10.
- Use matte photo paper, not copy paper or gloss.
- Set quality to best/high and disable auto-enhance.
- Frame with a mat for the biggest upgrade.
That's the whole process. Because the file is instant and reprintable, you can start with an inexpensive 12×18 to test your setup, then go large once you're happy. Every one of our prints is built for exactly this — browse the newest collection or jump to Norse and Stoic wall art.
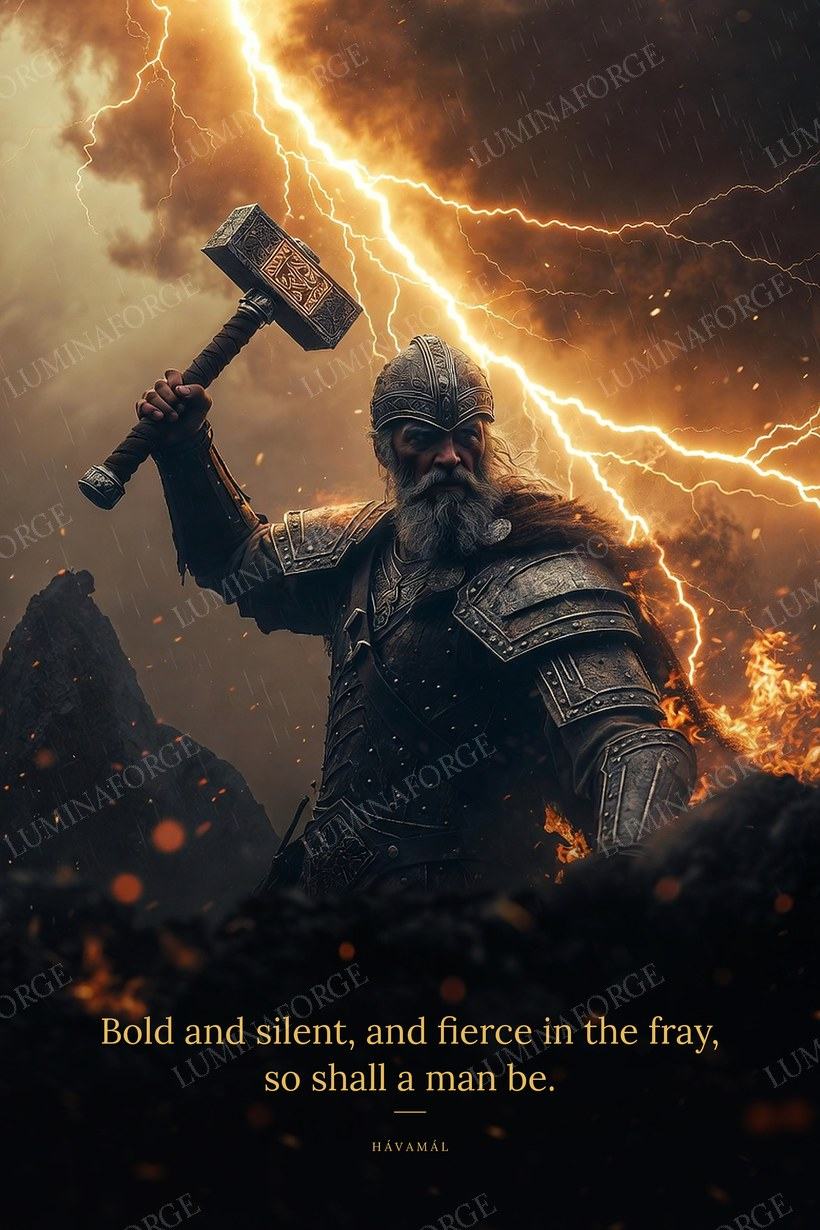 Thor — Norse Print
 Memento Mori
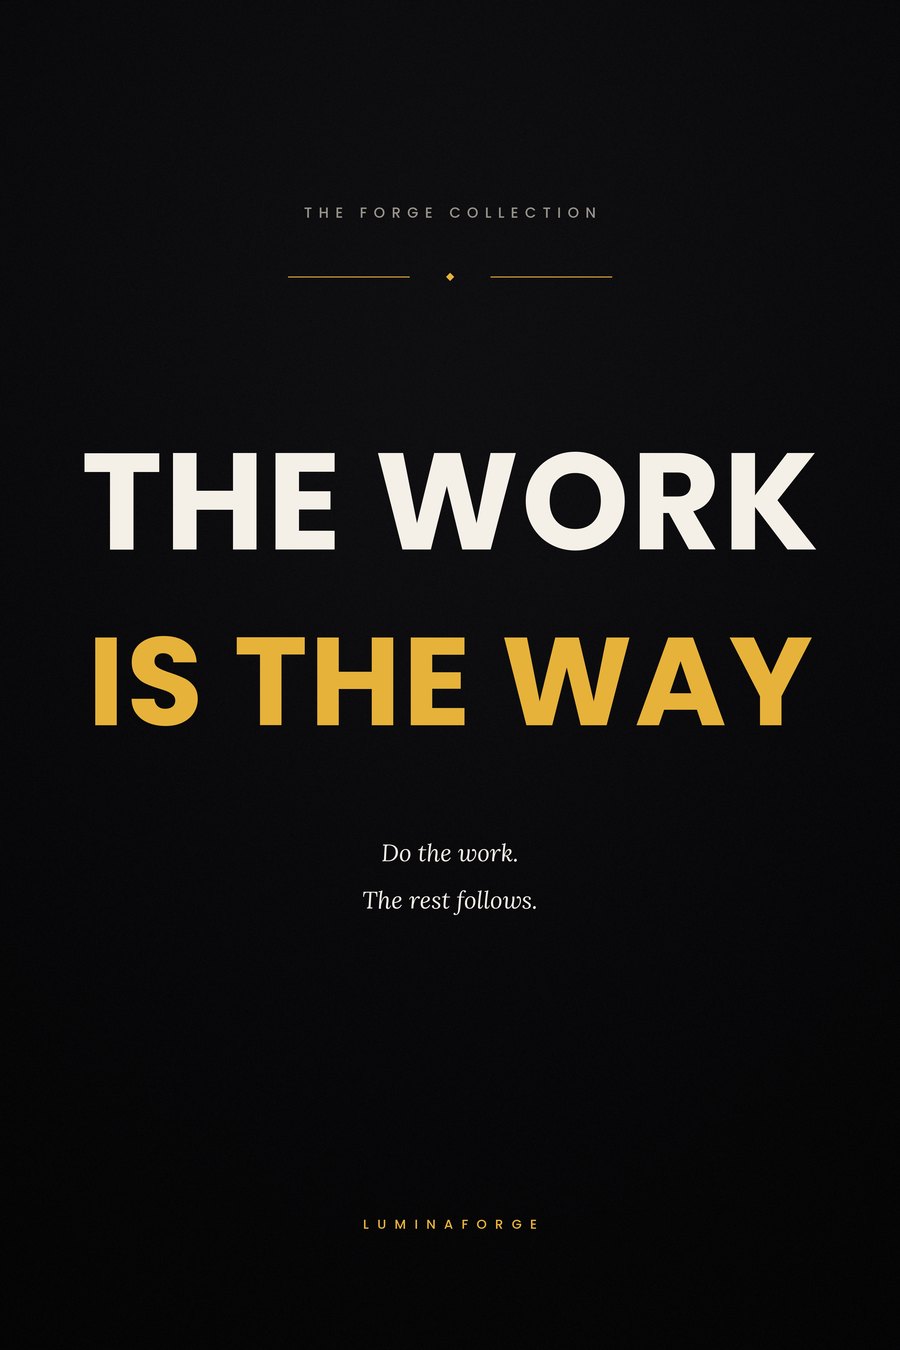 The Work